‘Celebration: Stencil Techniques’ class is part of the Altenew Educator Programme. This class is taught by the talented Laurel Beard. This class concentrates on using just one stamp set, and how many different looks can be achieved combining it with different stencil techniques.
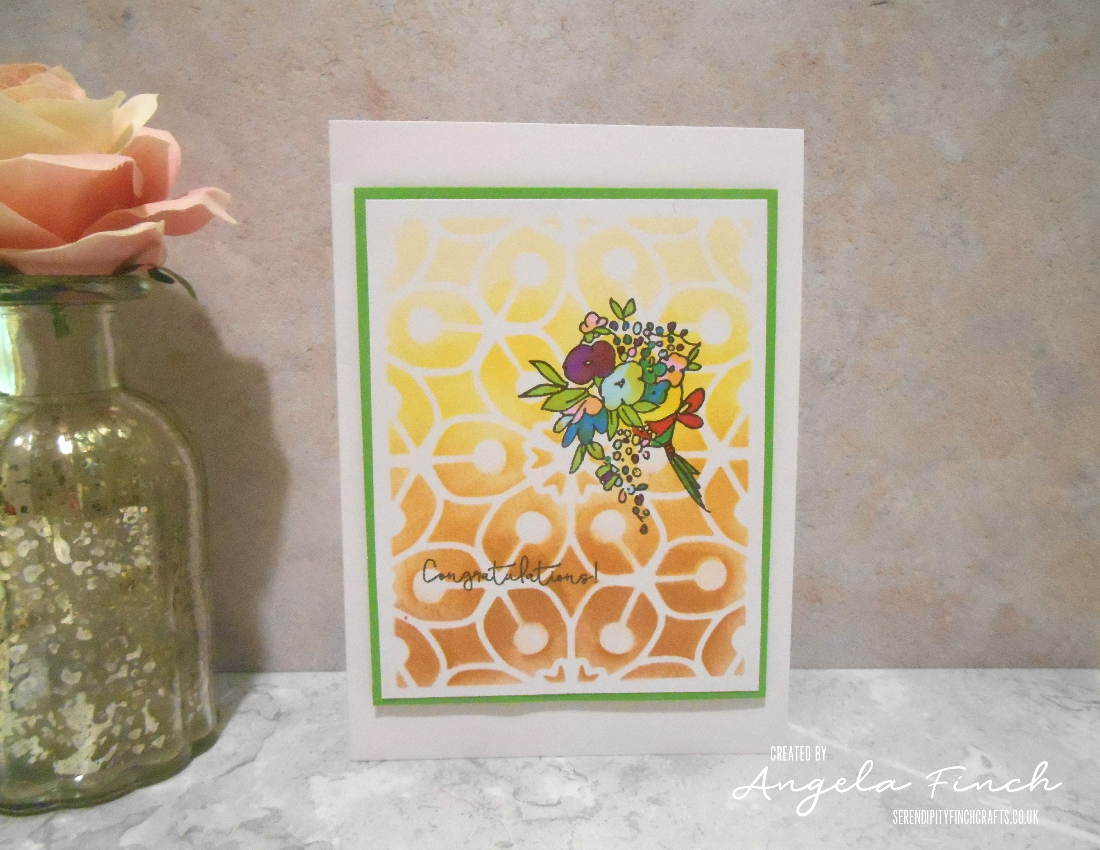
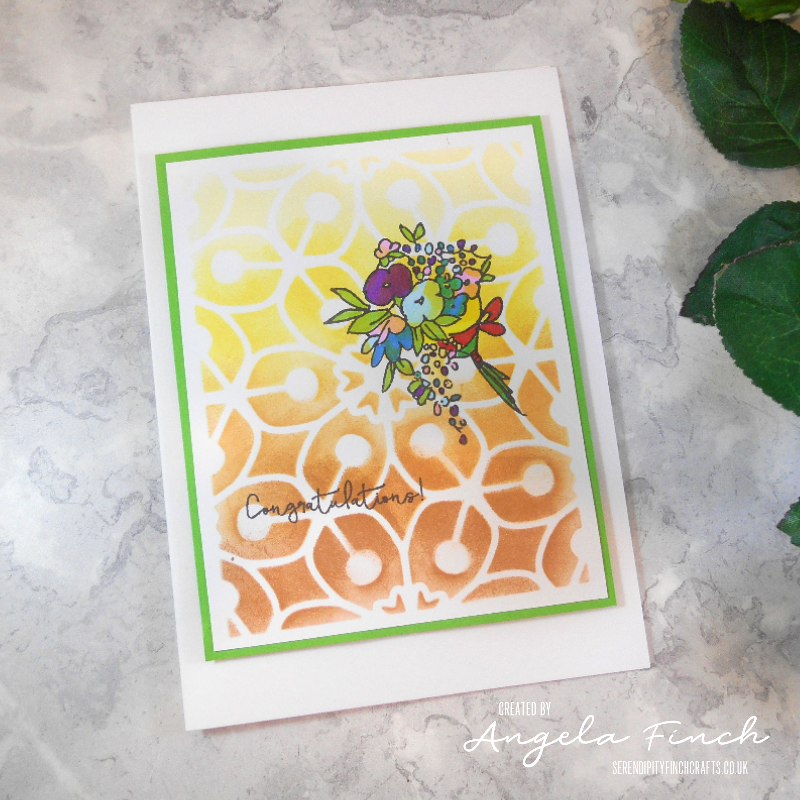
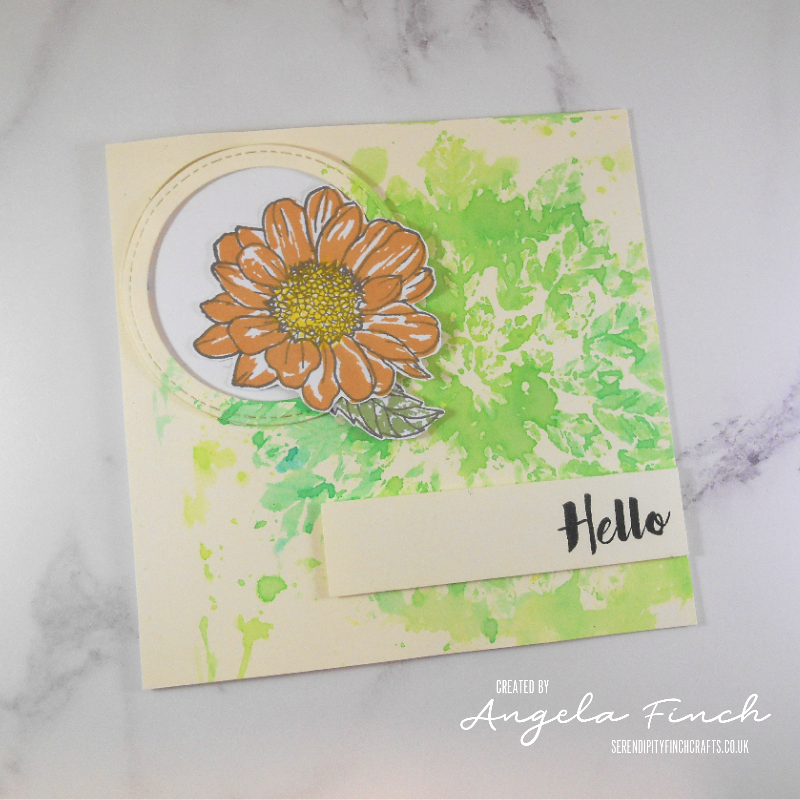
The best card from this class is the flower congratulations card, using the Altenew Celebrations stamp set. This is from the first lesson where I learnt how to use die cuts to create stencils.
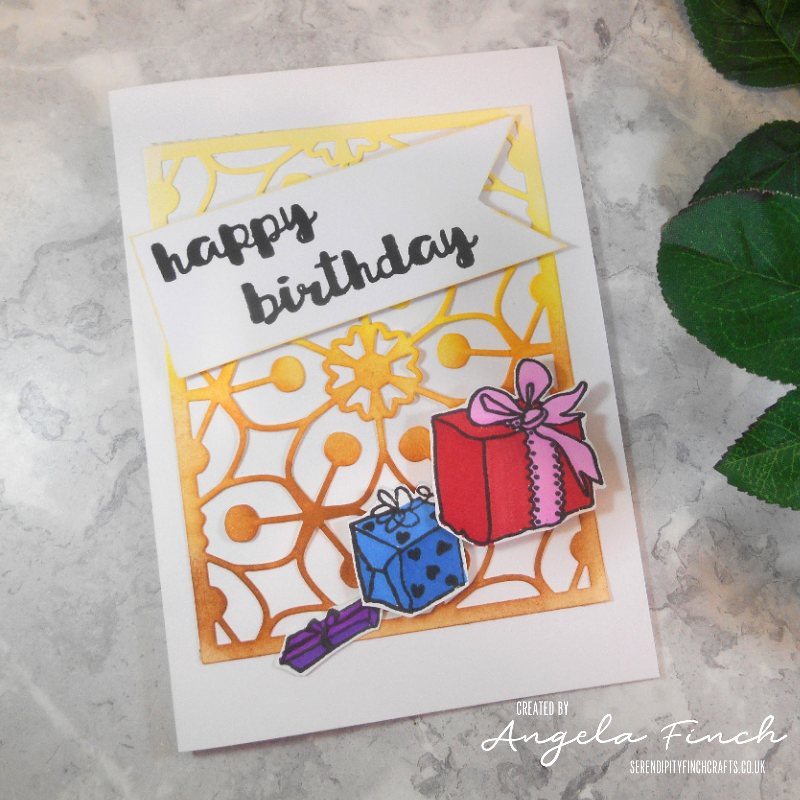
First I die cut Layered Medallions cover die B using my Fabmatic Die Cutting machine.
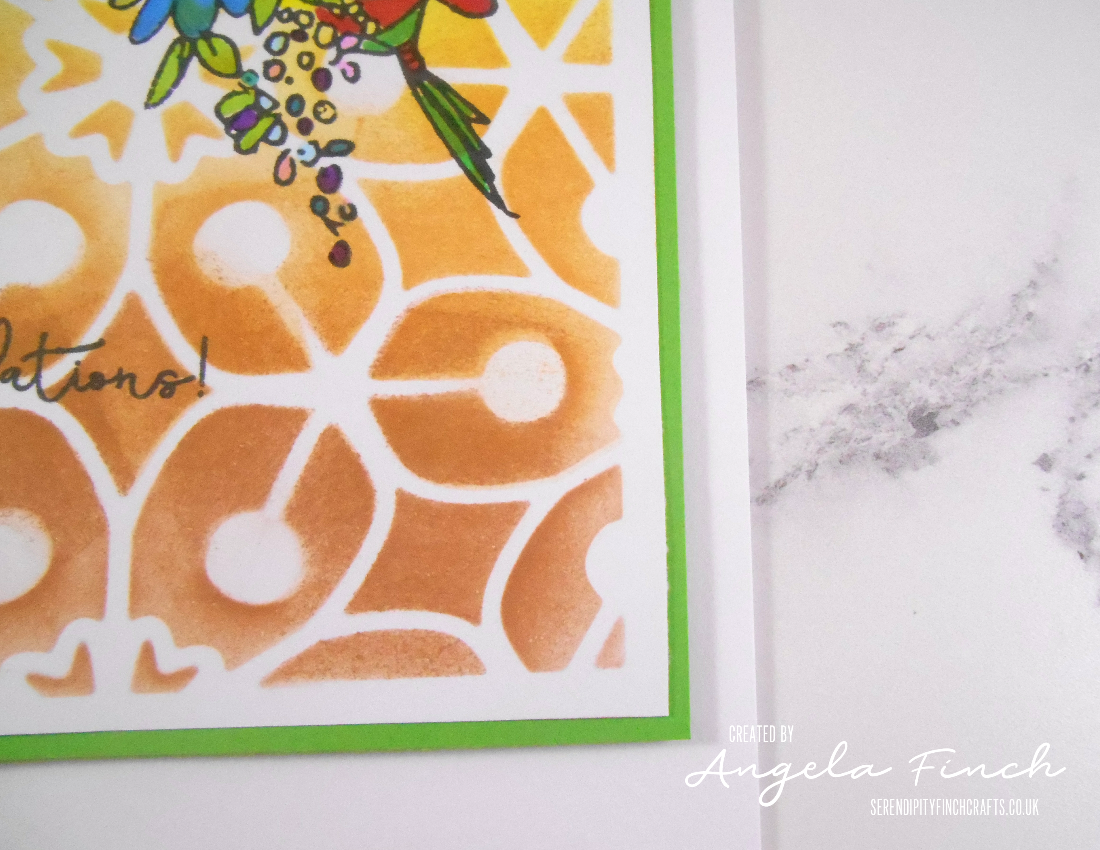
Then I used purple tape to keep the paper in place. I decided on a yellow/orange gradation look to the background. To achieve this I ink blended: Warm Sunshine, Buttercream, Caramel Toffee and Paper Bag. I really enjoy the process of ink blending, and seeing how the colours merge into each other.
I always love the reveal when taking away the stencil. You are never quite sure what you are going to get.
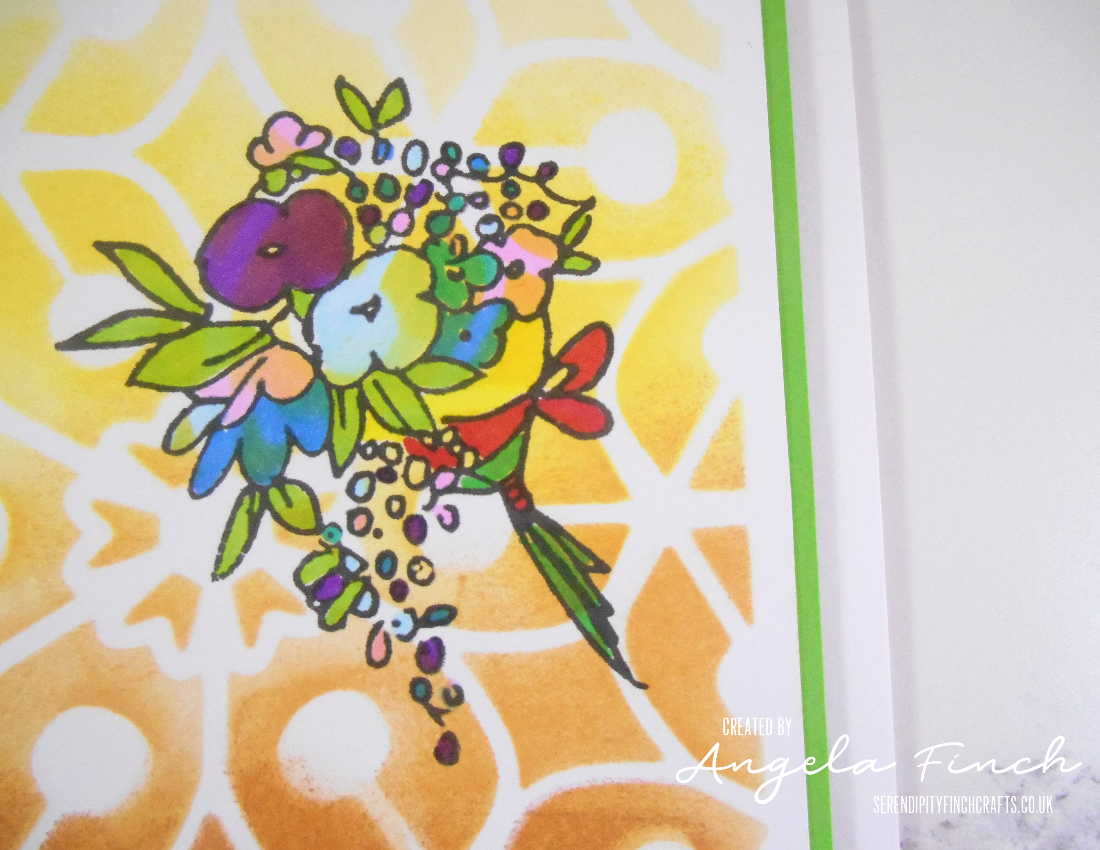
I then stamped the bouquet using my ‘We R Memory Keepers stamping platform’. I decided to use a stamping platform with the image just being a line image, and if I missed bits it could be difficult to line up again. To colour in the stamped image I used a variety of Chameleon Alcohol Pens. I liked the way the background shows through the lighter colours of the flowers.
Finally, I stamped the congratulations sentiment and added a green border. I chose green to highlight the colour of the leaves in the bouquet. Then I mounted that on a 7x 5 inch white card.
Supplies
- Altenew Celebrations Stamp Set
- Altenew Layered Medallions B Cover Die
- Altenew Leaf Burst Stencil
- Altenew Warm Sunshine Mini Cube Ink Pad
- Altenew Buttercream Mini Cube Ink Pad
- Altenew Caramel Toffee Mini Cube Ink Pad
- Altenew Paper Bag Mini Cube Ink Pad
- Altenew Jet Black Mini Cube Ink Pad
- Chameleon Colour Changing Alcohol Pens
- White Card
- Green Card
- 7 x 5 card blank
So what did I learn from this class?
- How to use die cuts as stencils
- How to ink blend over stencils
- That’s it is ok to use alcohol markers over ink blending.
- Different techniques for stencils
- How to use texture paste. (I don’t have any at the moment, so will revisit the class when I do)
Overall this was a really fun and informative class. I learnt a lot about how to use stencils in different ways.
Below are my favourite cards from this class.

Superb projects Angela!! You will get a crispier ink blended look if you use a repositionable spray behind your stencil. That is what I have found out after a lot of tries 🙂 You can try it some time.
Thank you for entering your lovely work to the AECP assignment gallery. Keep it up!
Thank you. I need to look into a repositionable spray. The process was fun though.