My books finally arrived so that I could start learning seed beading properly. I am very much a book learner, with videos coming a close second.
The first book that arrived was ‘Getting started with Seed Beads’ by Dustin Wedekind. I chose it because of the title. The early projects in the book involved sewing and gluing, things that I wasn’t interested in learning. Then there was a section on netting. Netting as a technique is quite straight forward once you get your head around it. The best thing about netting is that the seed beads you use do not have to be the regular size ones, so this technique is a cheap first step to build confidence.
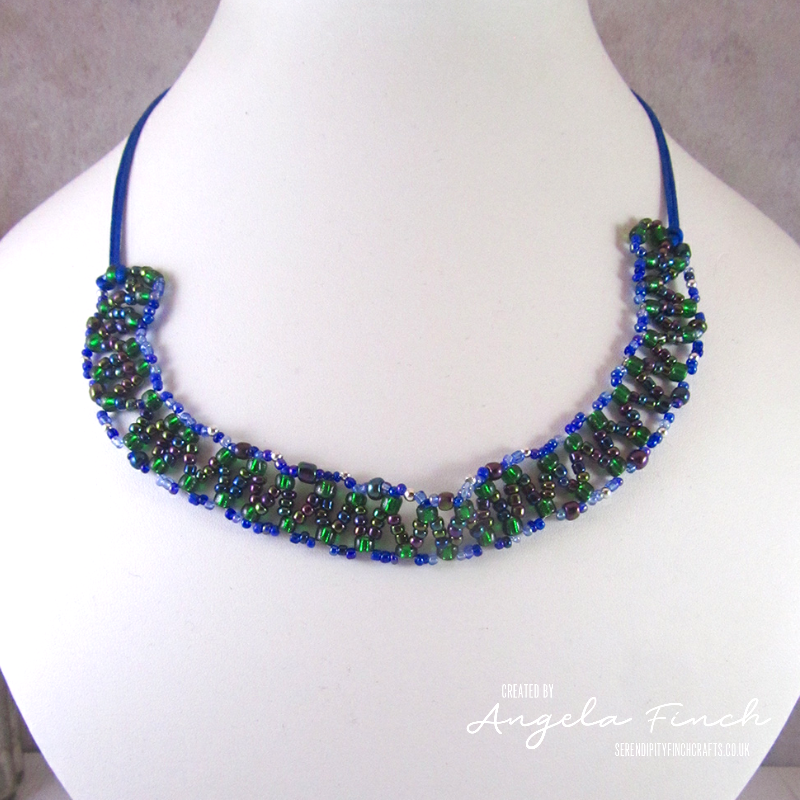
I created a variation of the ‘Curved Chevron Choker’, using the beads that I had. I am quite pleased with the necklace and wear it a lot. I tried a few more netting projects, and I have become confident that I can tackle more involved netting projects in the future.
The next technique to learn was ‘peyote stitch’. The thing with peyote stitch is that all the beads have to be exactly the same size, unlike netting. Oh, did I have trouble at first with this one! Starting off Peyote stitch is really tricky, getting the beads to sit on top of each takes a lot of patience. They just do not like doing it and seem to jump out of place. I even had to watch a video on it, though that took a long time to find one that showed exactly how to start ‘flat peyote’.
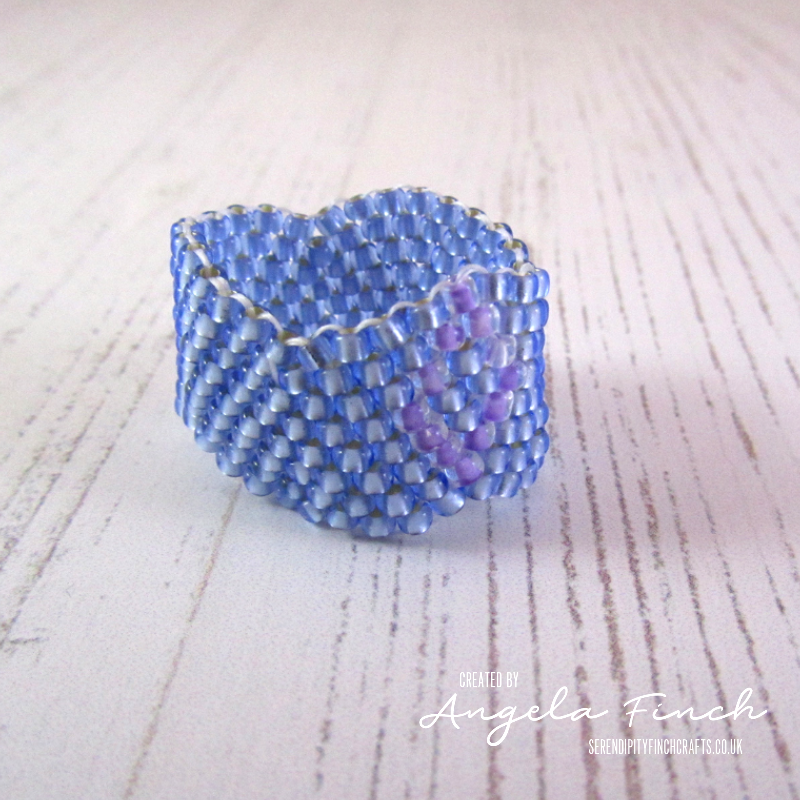
I used a project from another book ‘Beginners Guide to Beadwork’ by Madeleine Rollason. This book has photographs rather than charts to explain what you do. I used size 15 seed beads to create this ring.
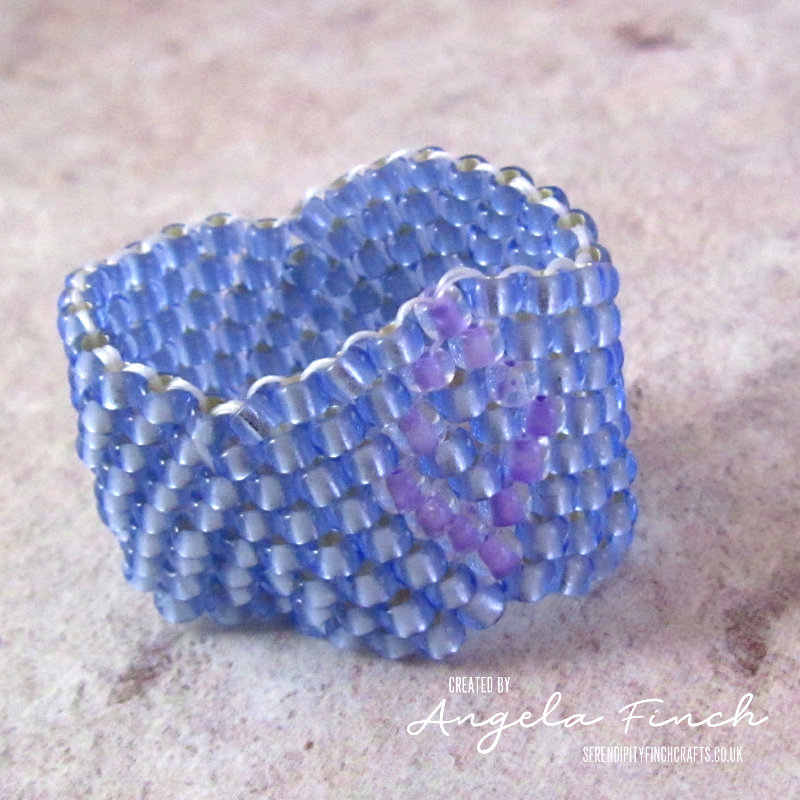
I also learned how to add threads and secure threads in this project. Interestingly, when I did this I made the ring wavy. I suspect that this has something to do with the tension of the original weave. I do like the look it gave this ring though, like a herringbone shape.
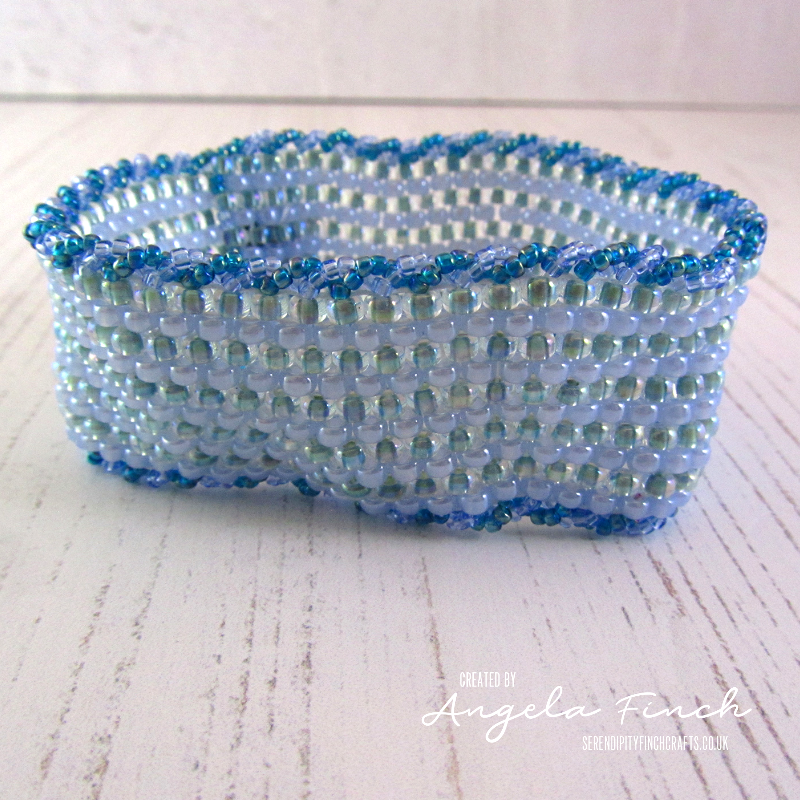
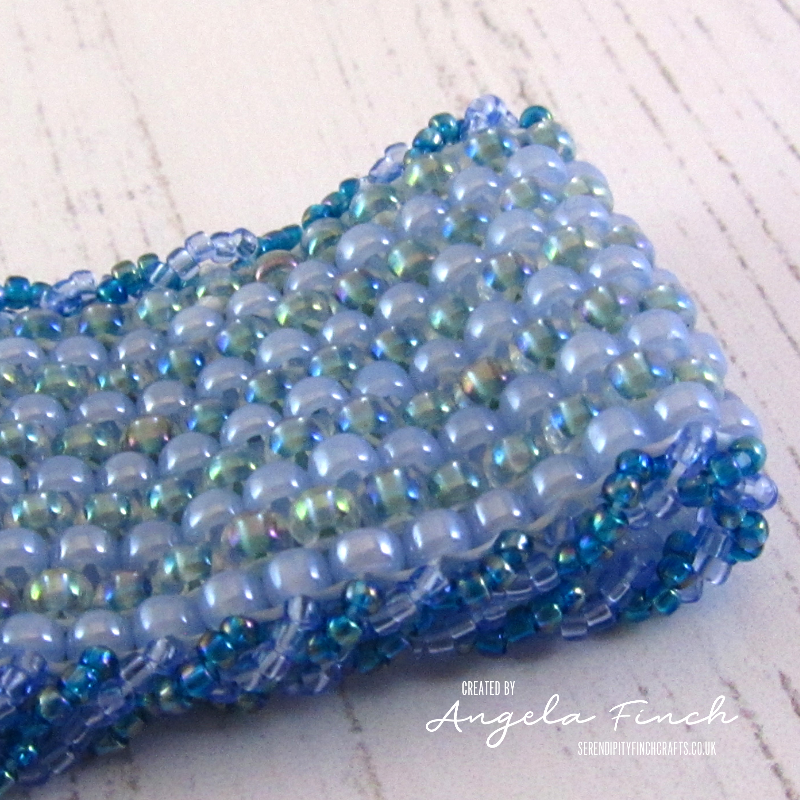
I was so confident that I decided to have another go at flat peyote. This time a bracelet project called ‘Snappy Bands’ from the Dustin Wedekind book. It was still a pain to start off the peyote, I hope it will become easier with practice. The thing with flat peyote stitch is that once it is started it is very straight forward.

I hadn’t realised how big a project I was giving myself. The bracelet in total took 9 hours to create. I still have the problem of making the bracelet slightly wavy when finishing it but I tell myself that it is a design choice.
The one plus I did learn during this project was how to thread my needle easier, though I suspect that has just been practice. I still need to find an easier way to undo the knots and tangles though. I think next I will learn about the different types of peyote stitch. Who knows maybe I will get the hang of starting off Peyote stitch?



You then pick up an odd number of beads (often three or five, depending on the pattern), and pass back through a link bead to Link beads are similar to up beads in peyote stitch. You stitch back through them to connect the next row to the body of the beadwork. Continue this process of stitching into the link beads until you reach the end of the second row. The pattern will determine the number of beads you skip before stitching into a link bead. In this case, the pattern is five bead netting, so you will pick up five beads for each stitch and skip five beads before stitching into a link bead.
Which design are you talking about please? It sounds like something is missing from the start of your comment.