The final challenge for level 1 in the Altenew Educator Program was to create 2 sets of cards, one ‘for her’ and one ‘for him’. Each set needed to have 6 cards on the same theme.
The interesting thing about this challenge is that you have to refer back to what you had previously learnt in the Altenew Level 1 classes. I mainly used:
- All about layering 1 and 2 – these classes taught me a lot about how to actually stamp, and use layered stamps. Both of these skills I have used in this challenge.
- Let it Shine – this class taught me the rule of adding embellishments to cards that I now follow. Also using elements that bring a bit of sparkle. I have used these techniques in this challenge.
- Celebration: Stencil Techniques – this class taught me how to use stencils in different ways to create beautiful effects. Stencils feature in all the cards in the card sets.
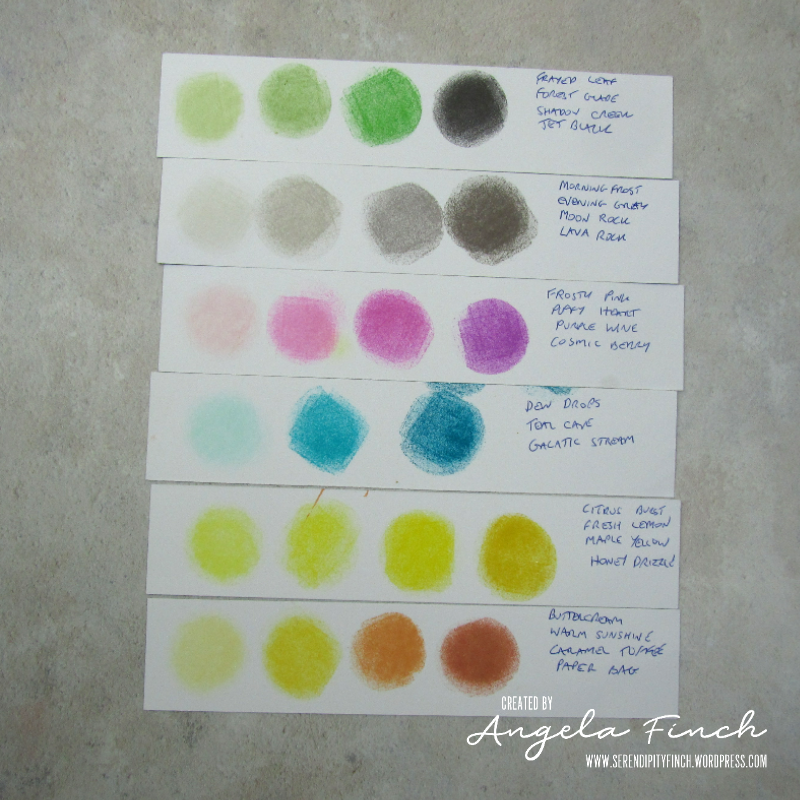
I decided to have the same themes over both sets, to make things easier a colour scheme was created. I tried to choose nontraditional male and female colours. Creating swatches like this made the creative process easier.
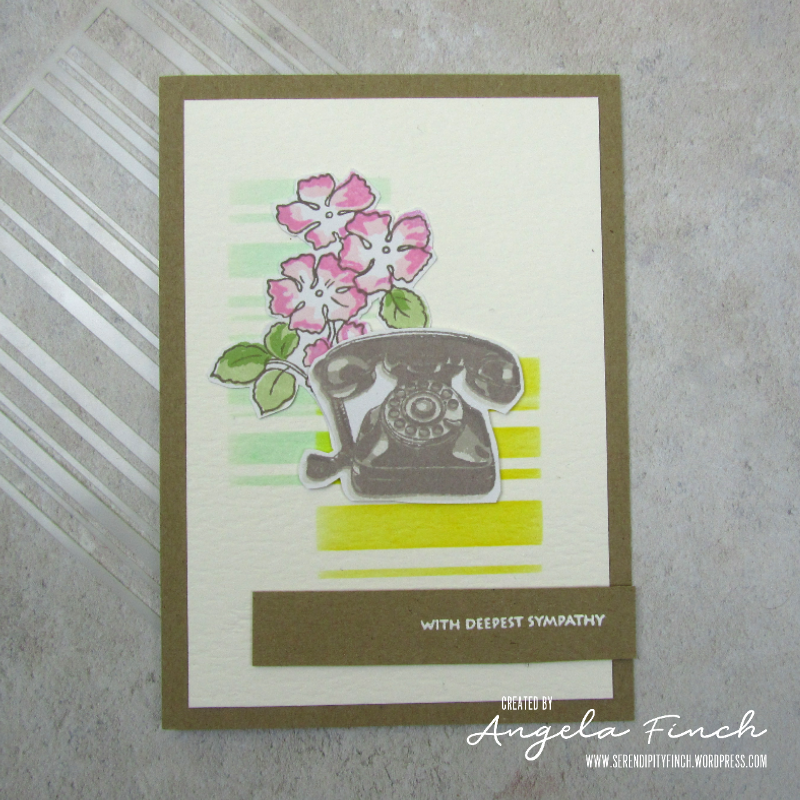
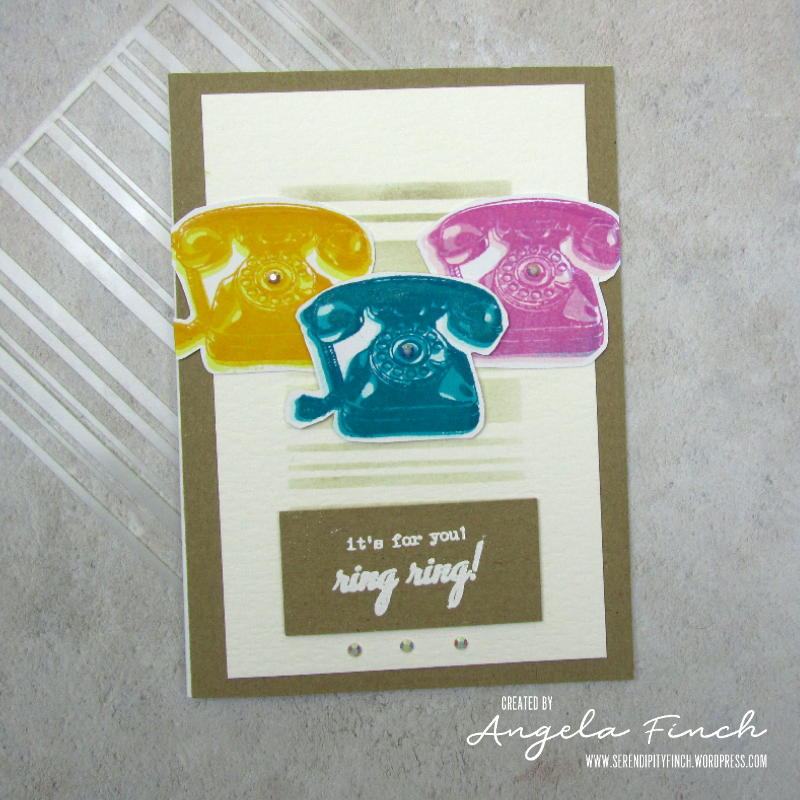
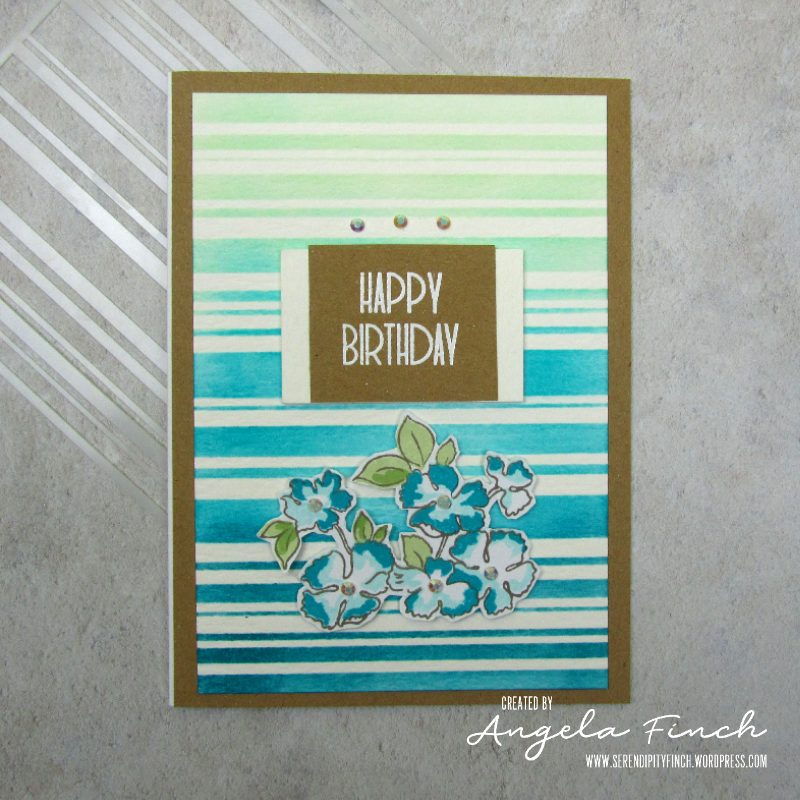
The next step was to decide on stamp sets. I chose one flower set (Ruffled Flower), a feather set (Golden Feather), and an unusual one (It’s for you). These stamps were used in both card sets, as I feel the images can be quite unisex depending on how you use them.
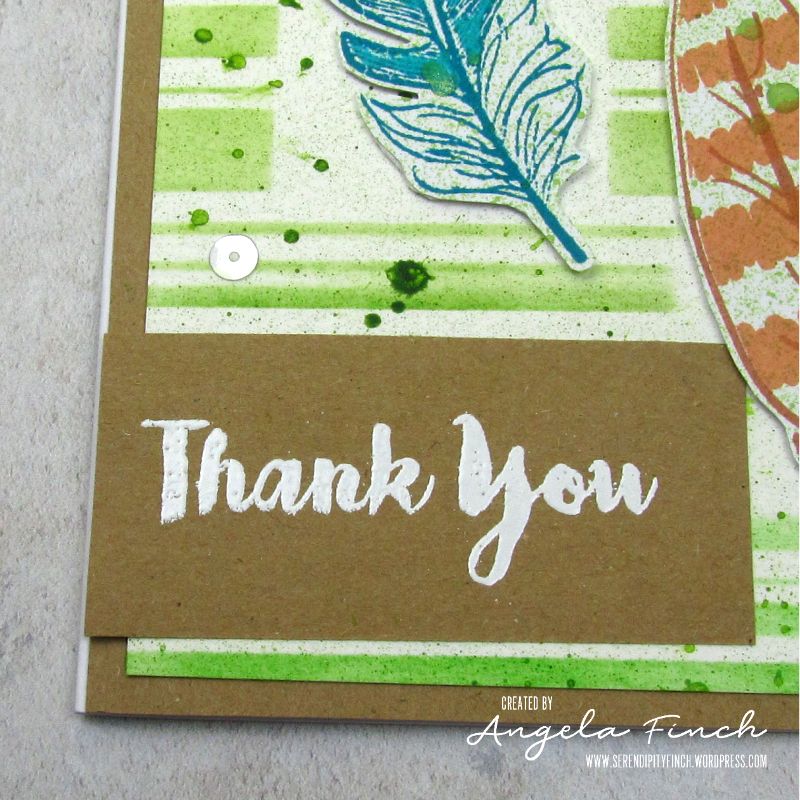
I created all the ‘for him’ cards first. Using kraft card as an extra theme made them feel more masculine. Though the main theme was of stripes from the Altenew Beach Towel stencil. A very versatile stencil that has become a firm favourite. (I also double-checked with my husband whether he would consider these cards suitable for men.)
Tutorial
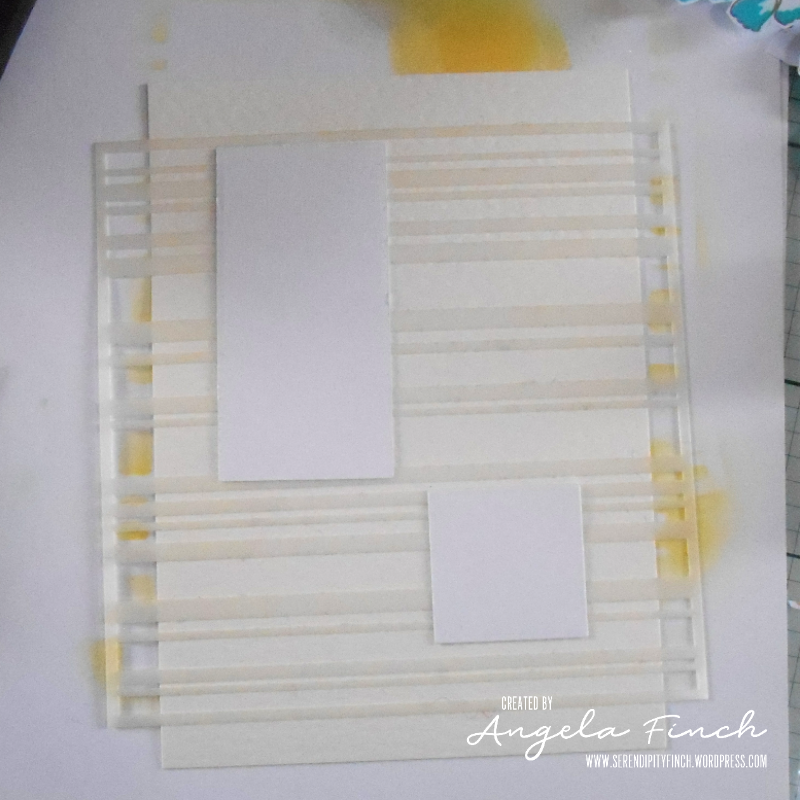
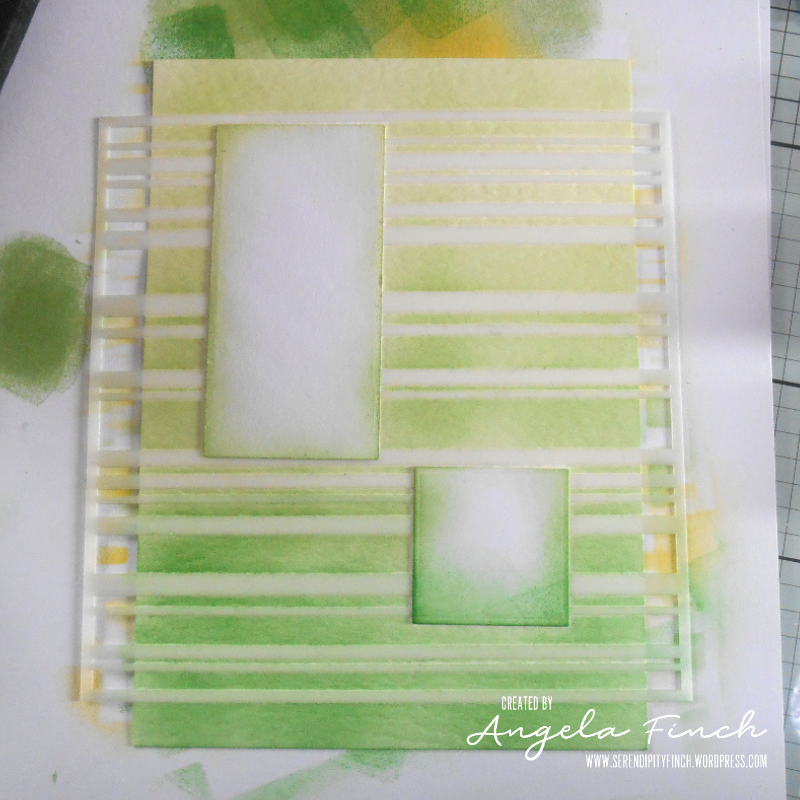
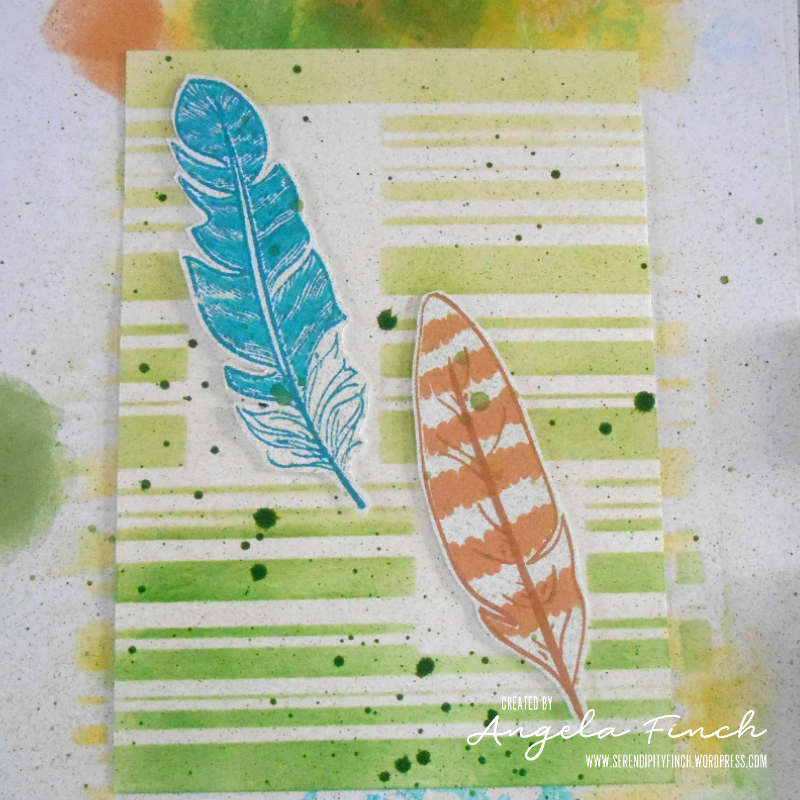
- Cut a 6 and a half inches by 4 and a half inches piece of textured cream card. Spray the Beach Towel stencil with Crafter’s Companion Stick and Spray. Then position it onto the card carefully. Cut out a small rectangle and small square piece of card. Spray them, and then affix them on top of the stencil.
- Use ink blending techniques over the stencil. To create the ombre look, start with Frayed Leaf, then Forest Glade, and finally Shadow Creek inks.
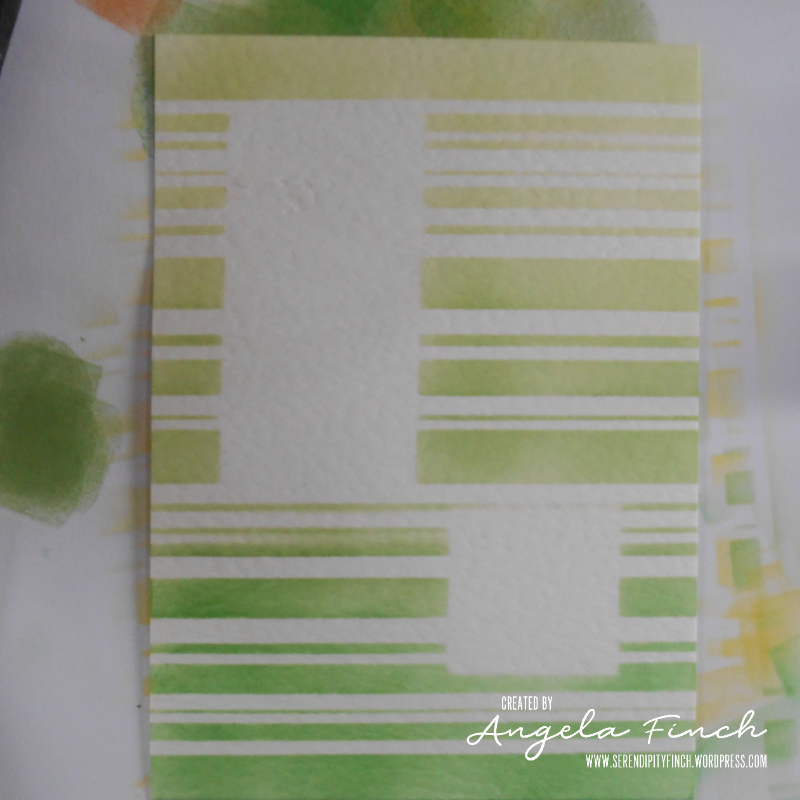
- Remove the stencil. (You may wish to put it in some water to clean it).
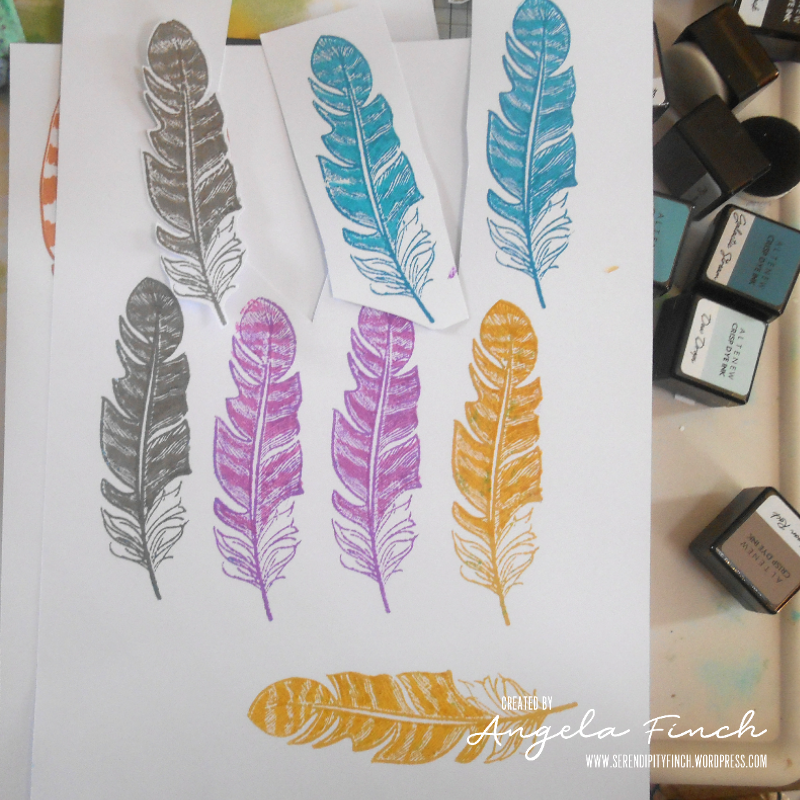
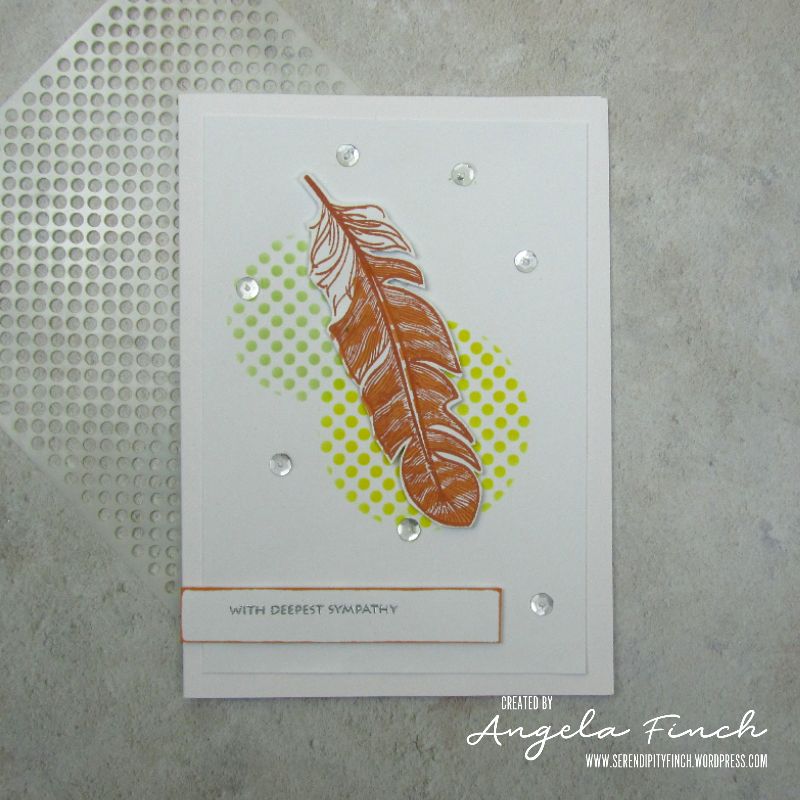
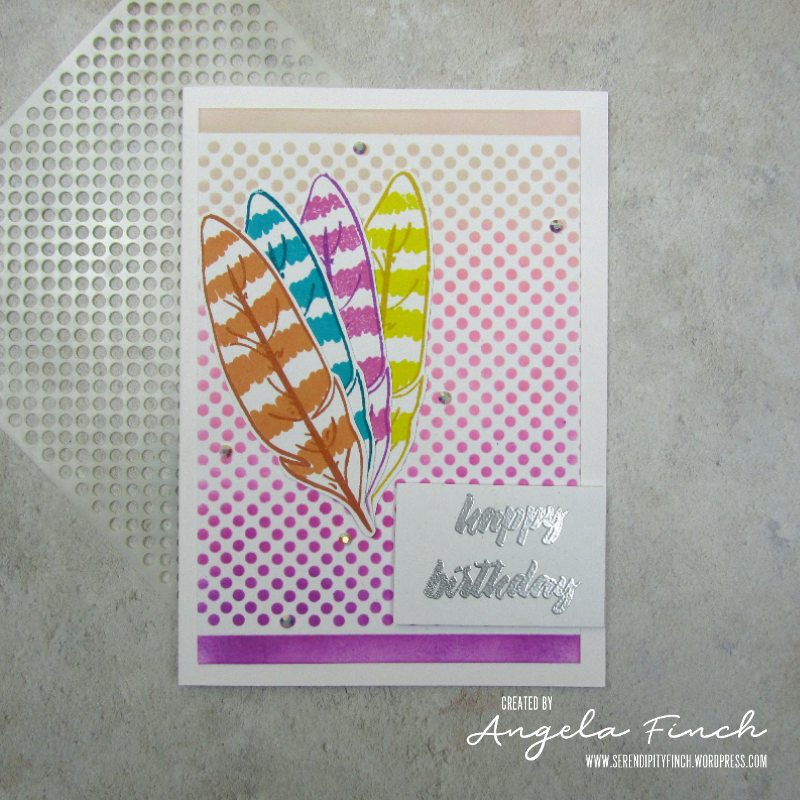
- Stamp out some feathers using the Altenew Golden Feather stamp set. Continue using the stripe motif. (I fussy cut them out, as I did not have the corresponding dies.) I created various different coloured feathers so that I could see which fitted the background the best.
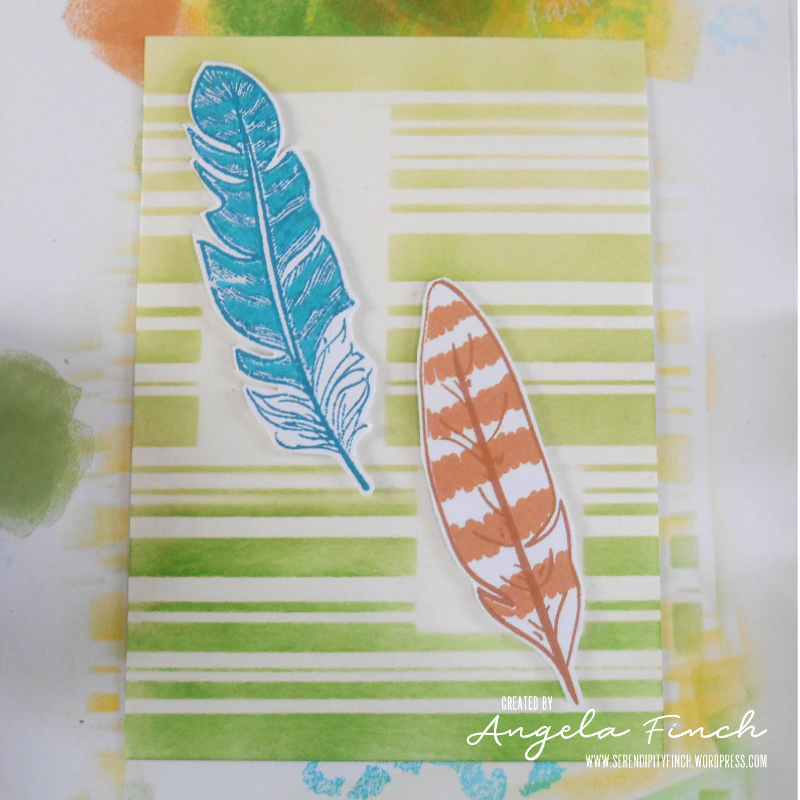
- Decide where best they go on the card. I thought a slight angle over the white rectangle/square worked well. Then add them using foam pads.
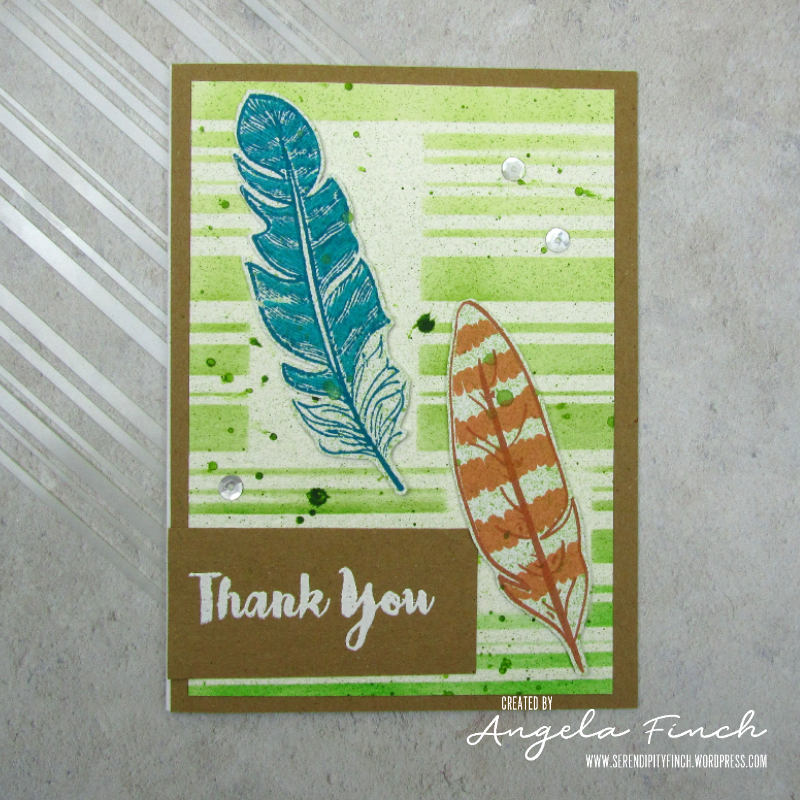
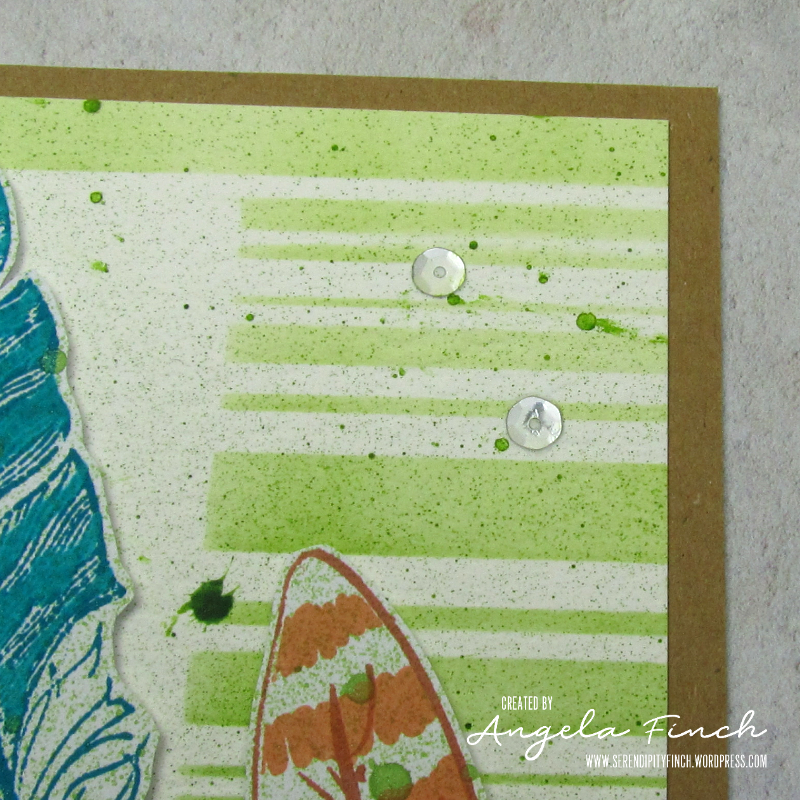
- Spray the card with Altenew Ink Spray, Forest Glade. Practice first so that you get the right size of ink splats that you want.
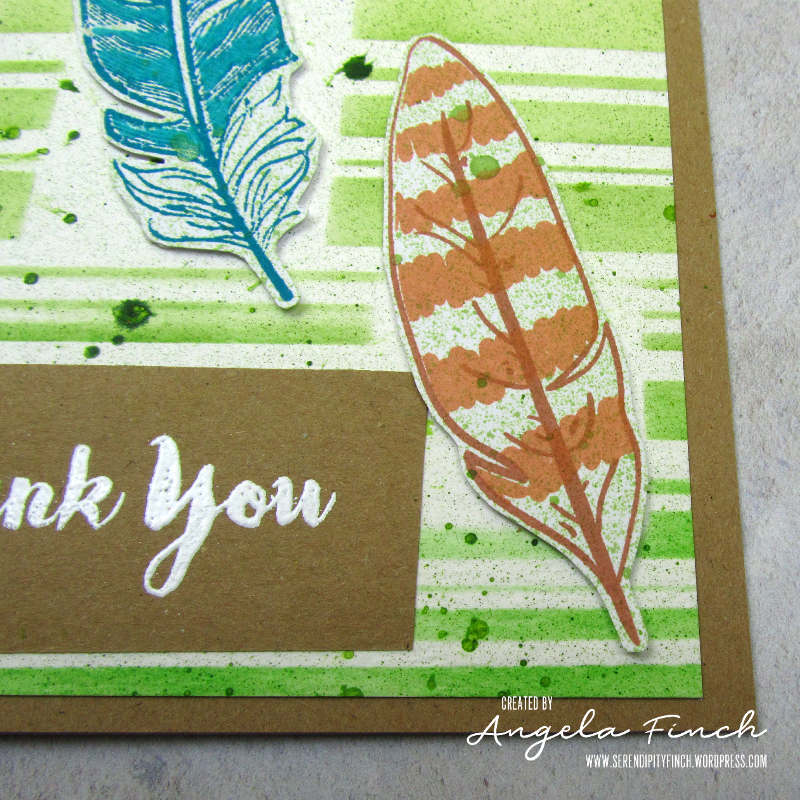
- While this is drying. It’s time to emboss the sentiment. I used a ‘Thank You’ from Altenew Floral Shadow stamp set. Use an anti-static bag on the card first. Then using Versamark ink to stamp the sentiment. I used Wow Opaque Bright White embossing powder. Then heat with a heat gun. Finally cut the sentiment to size.
- Attach the main card to a kraft card layer and then onto the main card. Use foam pads to attach the sentiment. Finally, place some Nuvo Silver Tinsel sequins around the card.
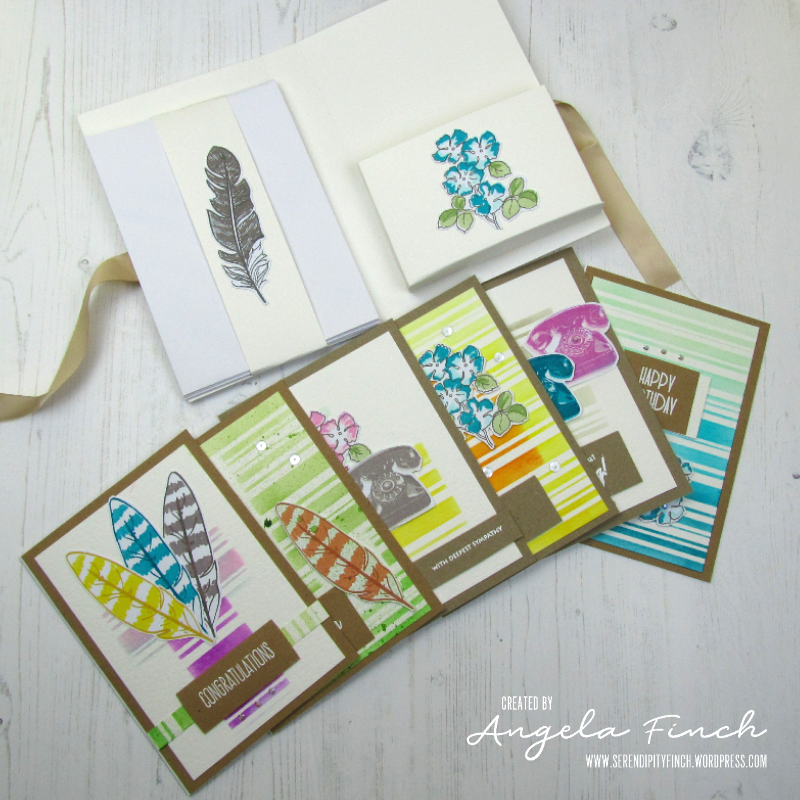
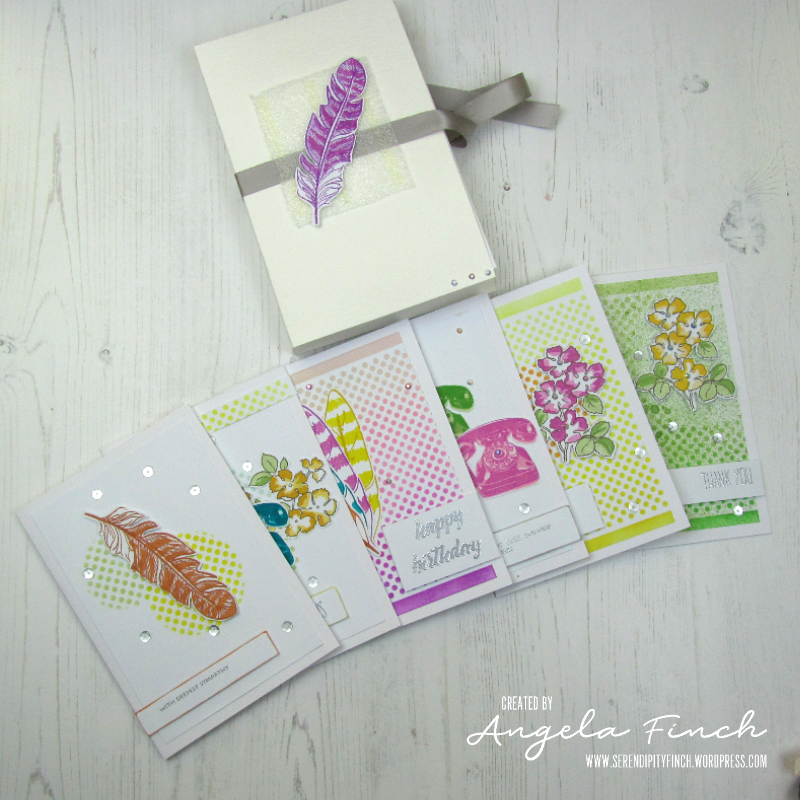
Below are the ‘For Him’ cards from the card set.


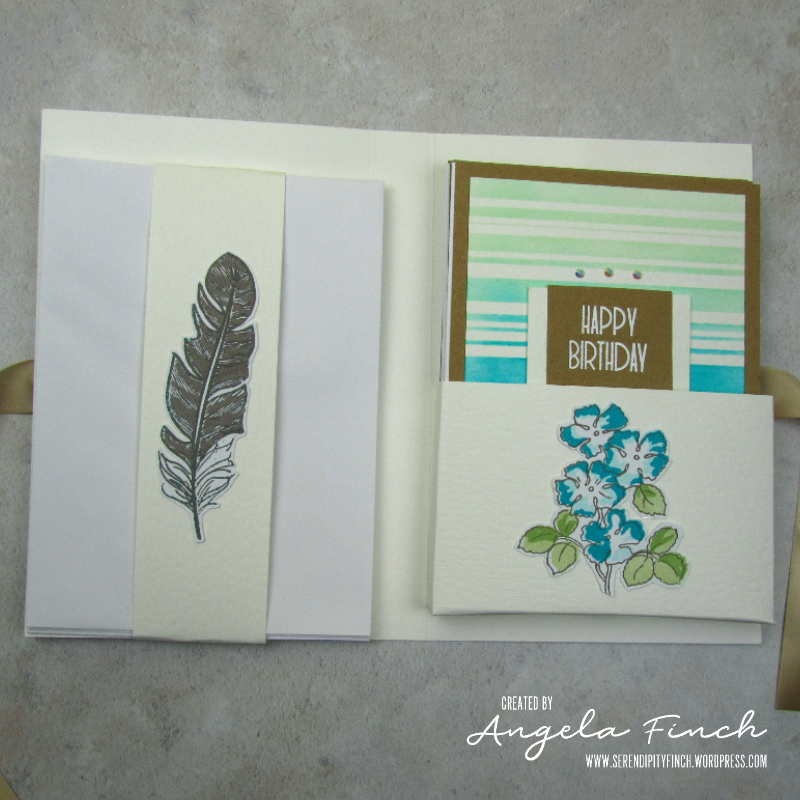
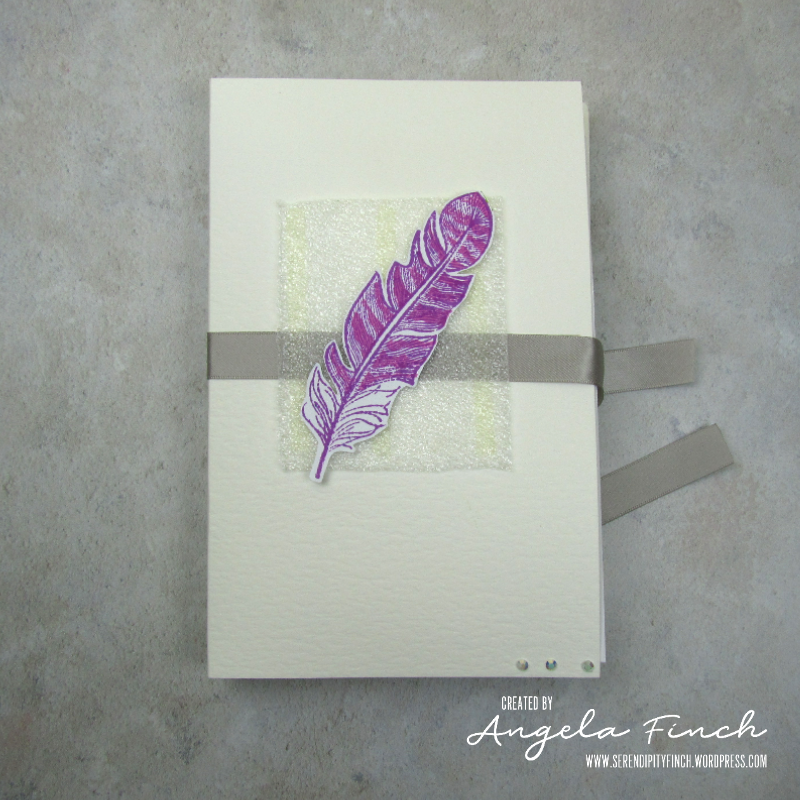
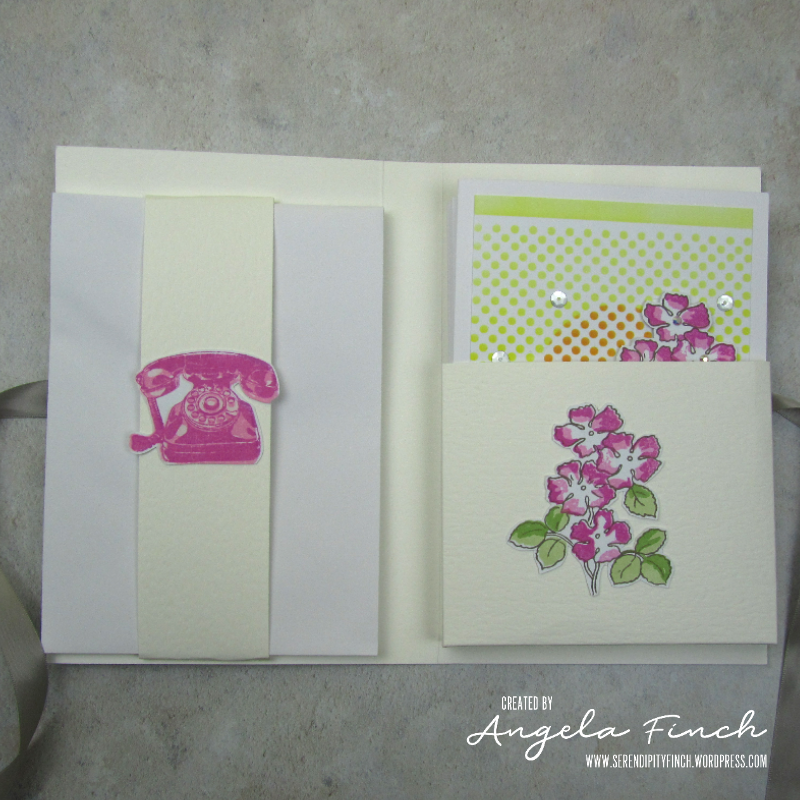
For the packaging I decided to create a simple folder that I decorated with stamps from the set. I also added my recycling element, some plastic foam packaging that I cut into rectangles.
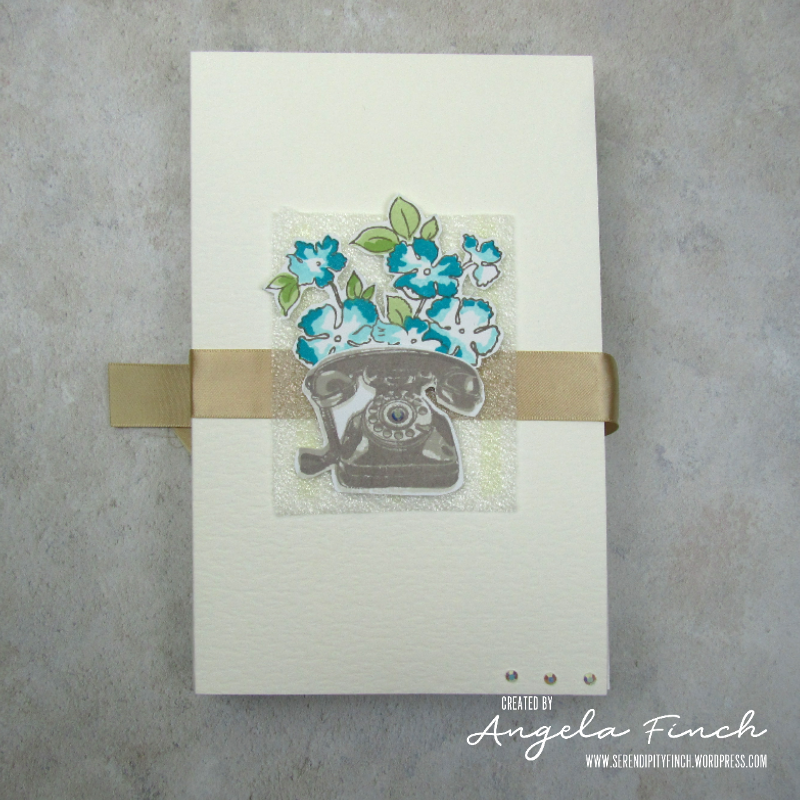
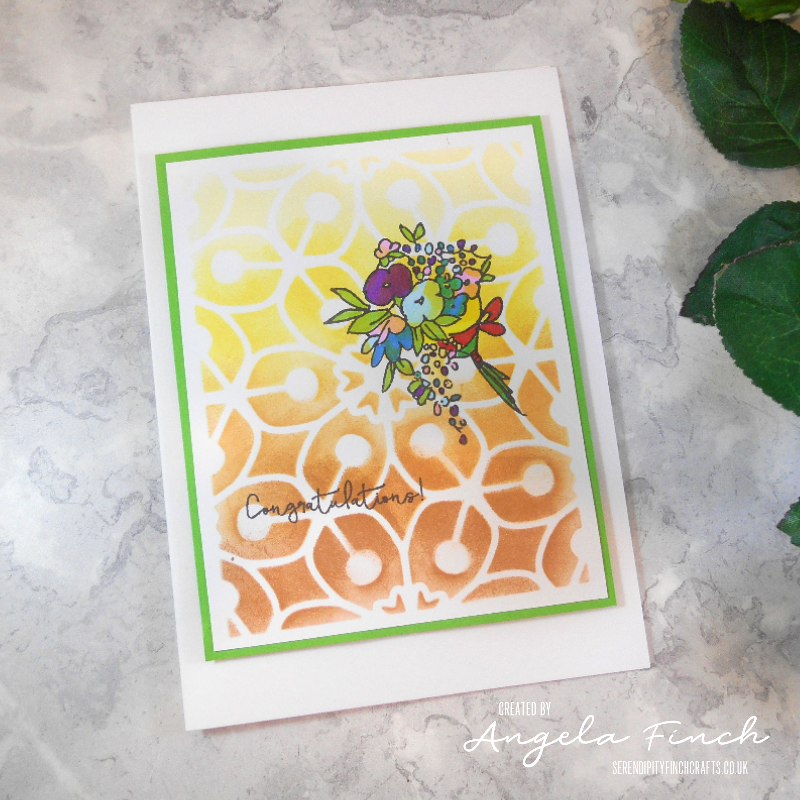
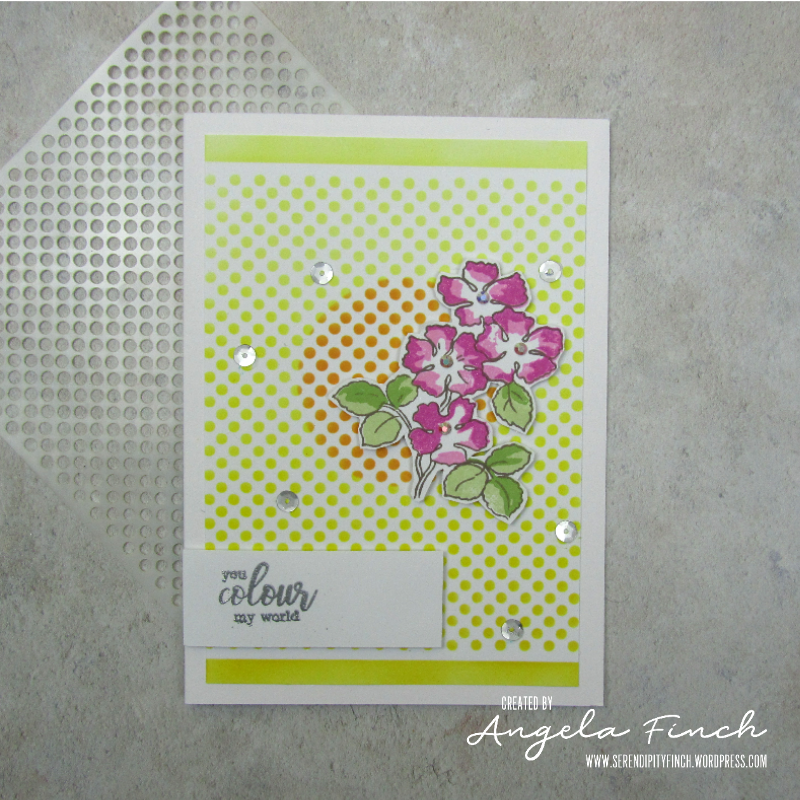
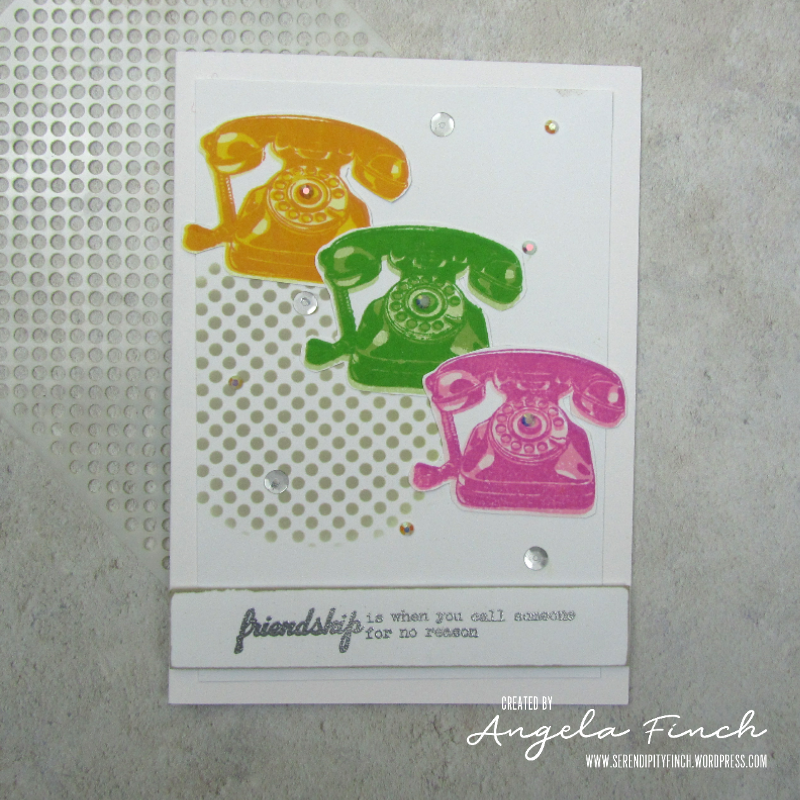
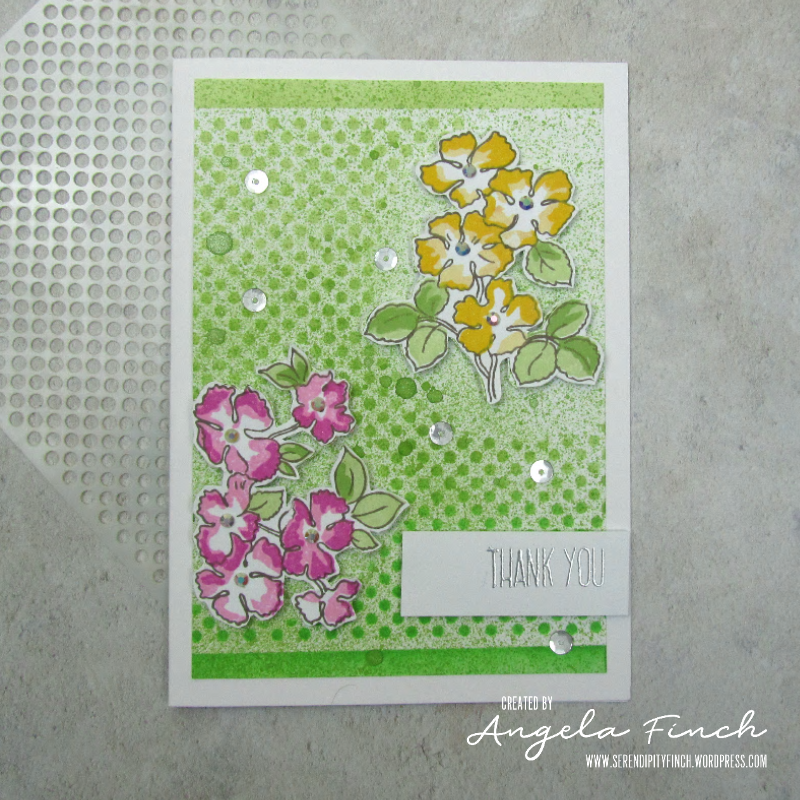
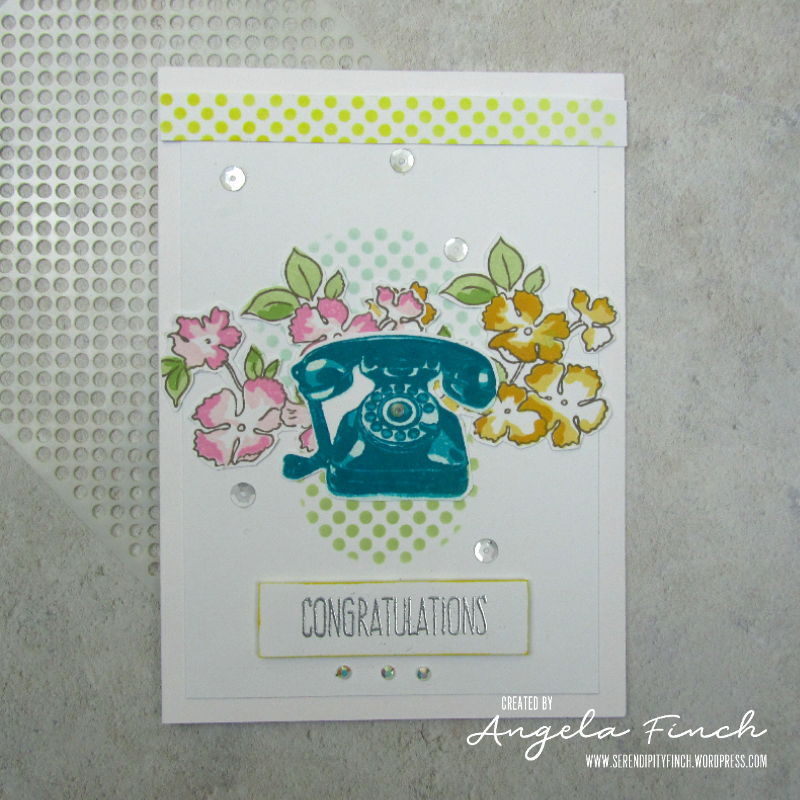
The ‘For Her’ set used similar stamps. The main difference is that the background for these is the Altenew Feeling Dotty stencil, and white card is used instead of the cream and kraft card.
Supplies
- Altenew Ruffled Flowers stamp set
- Altenew Golden Feather stamp set
- Altenew It’s For You stamp set
- Altenew Floral Shadow set (for sentiment)
- Altenew Baby Zoo stamp set (for sentiment)
- Altenew Birthday Builder stamp set (for sentiment)
- Altenew Across the Pond stamp set (for sentiment)
- Altenew Birch Land stamp set (for sentiment)
- Altenew Beach Towel stencil
- Altenew Feeling Dotty stencil
- Altenew Frayed Leaf ink pad
- Altenew Forest Glade ink pad
- Altenew Shadow Creek ink pad
- Altenew Morning Frost ink pad
- Altenew Evening Gray ink pad
- Altenew Moon Rock ink pad
- Altenew Lava Rock ink pad
- Altenew Frosty Pink ink pad
- Altenew Puffy Heart ink pad
- Altenew Purple Wine ink pad
- Altenew Cosmic Berry ink pad
- Altenew Dew Drops ink pad
- Altenew Teal Cave ink pad
- Altenew Galactic Storm ink pad
- Altenew Citrus Burst ink pad
- Altenew Fresh Lemon ink pad
- Altenew Maple Yellow ink pad
- Altenew Honey Drizzle ink pad
- Altenew Buttercream ink pad
- Altenew Warm Sunshine ink pad
- Altenew Caramel Toffee ink pad
- Altenew Paper Bag ink pad
- Altenew Ink Sprays Forest Glade
- Versamark ink pad
- Wow Opaque Bright White embossing powder
- Stamp-N-Stuff Detail Silver Opaque embossing powder
- Nuvo Silver Tinsel Sequins
- Gems
- Crafter’s Companion Stick N Spray
- Ribbon – brown and silver
- White card
- Cream textured card
- Kraft card
- Plastic foam packaging
- Foam pads
- Double-sided tape
- Red liner tape
- Glue
- Stamping blocks
- Heat gun
This was a fun challenge. Looking back at Level 1, I can’t believe that I didn’t know how to stamp or use ink in any way when I started. I think it helped me that for every lesson in every class I made a card.
I am proud of how far I have progressed in card making.